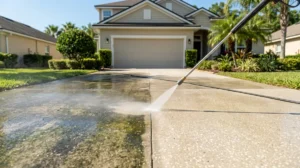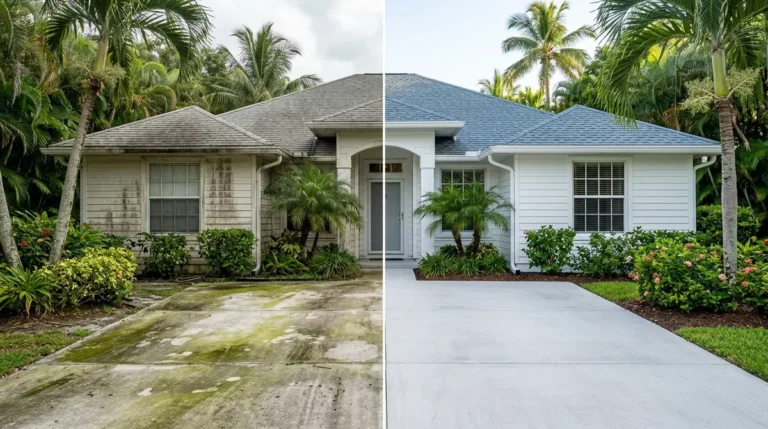
Pressure washing your house can dramatically improve its curb appeal and protect your siding from mold, mildew, and accumulated grime. However, using a pressure washer incorrectly can cause significant damage to your home’s exterior, including stripped paint, cracked siding, and water intrusion behind walls. Understanding the proper techniques, equipment settings, and safety precautions is essential before you begin this home maintenance project. This comprehensive guide will walk you through every step of the pressure washing process, from selecting the right equipment to applying the correct cleaning solutions, ensuring you achieve professional-quality results without compromising your home’s integrity.
Whether you’re preparing your house for painting, restoring its original appearance, or maintaining its value, learning how to pressure wash correctly will save you money and prevent costly repairs. Professional services like Buckhorn Power Wash use specialized techniques developed through years of experience, but homeowners can achieve excellent results by following proven methods and exercising caution throughout the process.
Understanding Pressure Washing Equipment and PSI Requirements
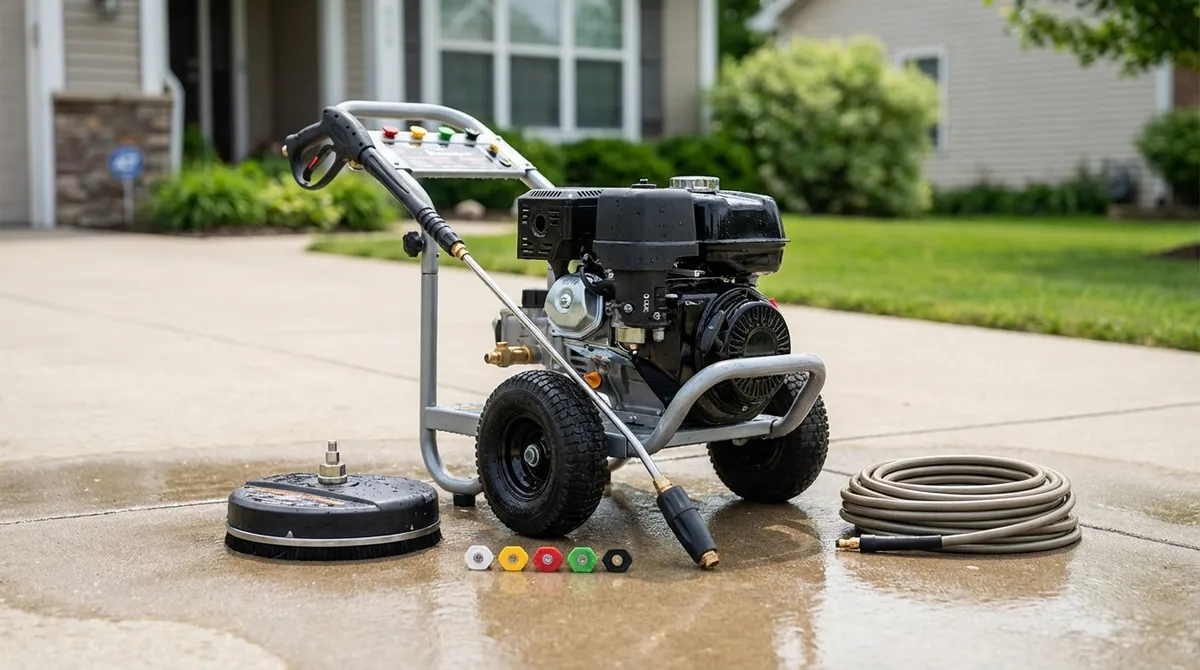
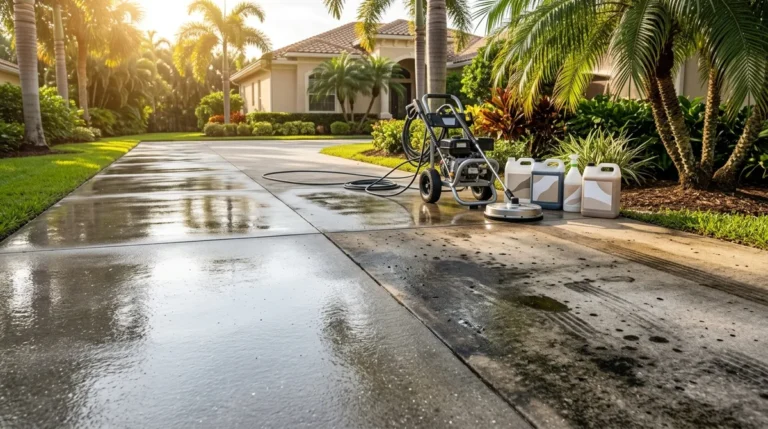
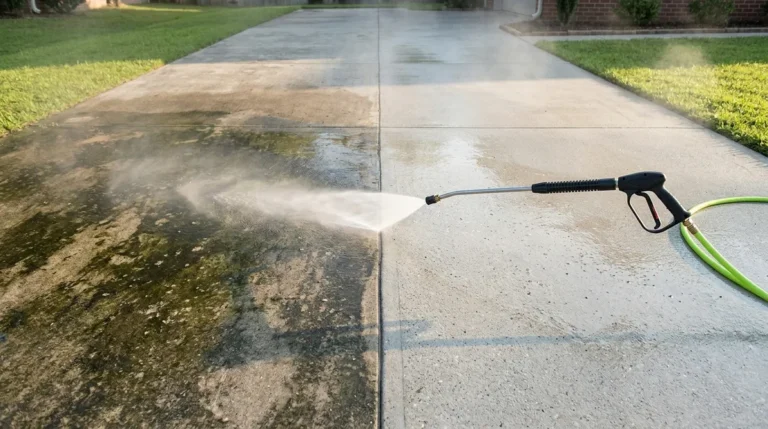
Before you begin pressure washing your house, you must understand the equipment specifications and pressure settings appropriate for residential siding. Pressure washers are rated in PSI (pounds per square inch) and GPM (gallons per minute), which together determine their cleaning power. For house washing, you’ll typically need a pressure washer with 1,500 to 3,000 PSI, depending on your siding material.
Vinyl siding requires relatively low pressure—between 1,300 and 1,600 PSI—to avoid cracking or forcing water behind the panels. Brick and concrete can withstand higher pressures up to 3,000 PSI, while wood siding should be cleaned with no more than 1,200 to 1,500 PSI to prevent splintering and surface damage. Stucco falls in the middle range at approximately 1,500 to 2,000 PSI. Always start with lower pressure and gradually increase if needed, as you can always add more pressure but cannot undo damage from excessive force.
Choosing Between Gas and Electric Pressure Washers
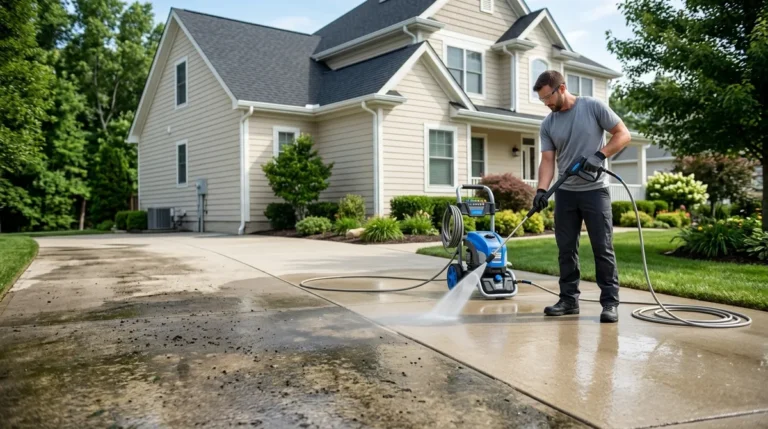
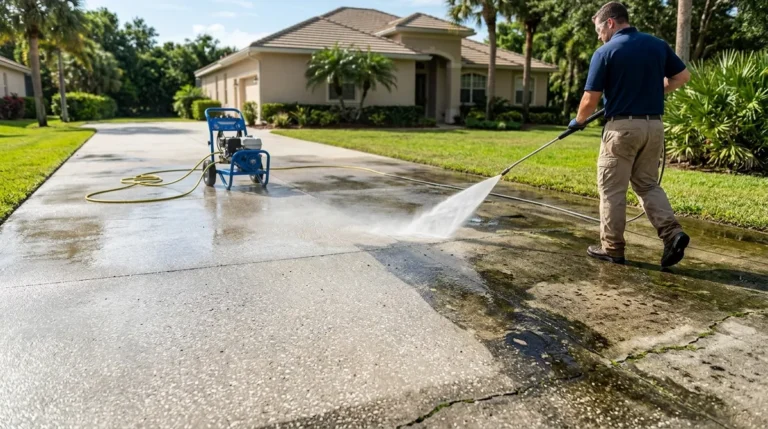
Gas-powered pressure washers deliver higher PSI and GPM ratings, making them more suitable for large homes or heavily soiled surfaces. They offer greater mobility since they don’t require electrical outlets, but they’re louder, heavier, and require more maintenance. Electric pressure washers are quieter, lighter, and easier to maintain, making them ideal for smaller homes and routine cleaning tasks. For most residential house washing projects, a quality electric pressure washer with 2,000 PSI provides sufficient cleaning power while remaining manageable for homeowners.
Essential Nozzle Types and Spray Patterns
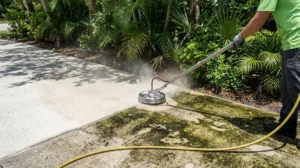
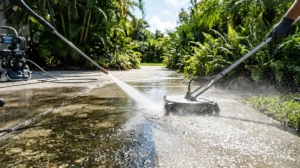
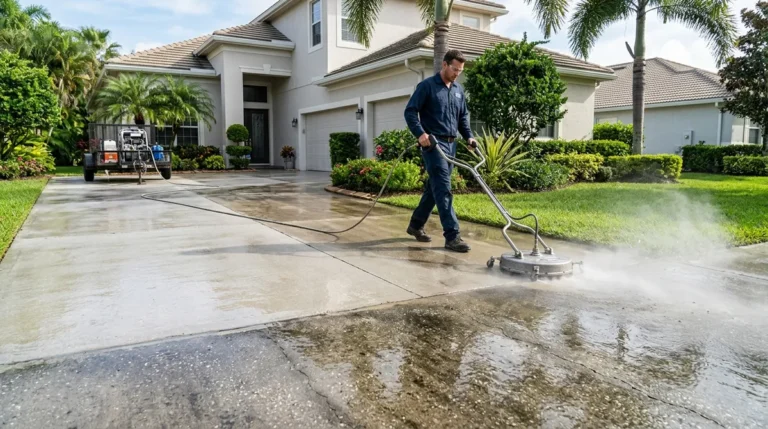
Pressure washer nozzles are color-coded and create different spray patterns that dramatically affect cleaning effectiveness and safety. The red nozzle (0-degree) produces a concentrated stream that can cut through concrete and should never be used on house siding. The yellow nozzle (15-degree) is still too aggressive for most siding materials. The green nozzle (25-degree) works well for general house washing, while the white nozzle (40-degree) provides the gentlest spray suitable for delicate surfaces. Many professionals recommend using a soap nozzle (typically black) for applying cleaning solutions, which operates at very low pressure to allow proper dwell time.
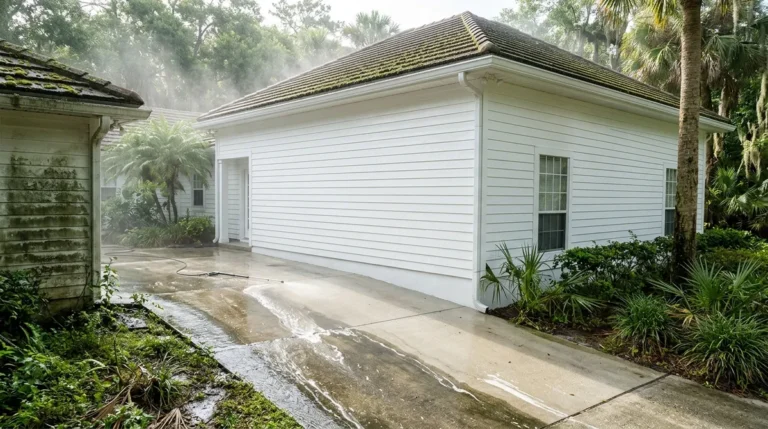
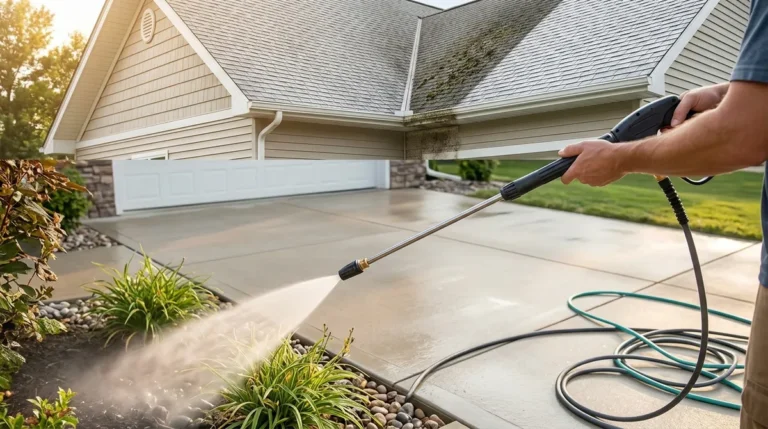
Preparing Your House for Pressure Washing
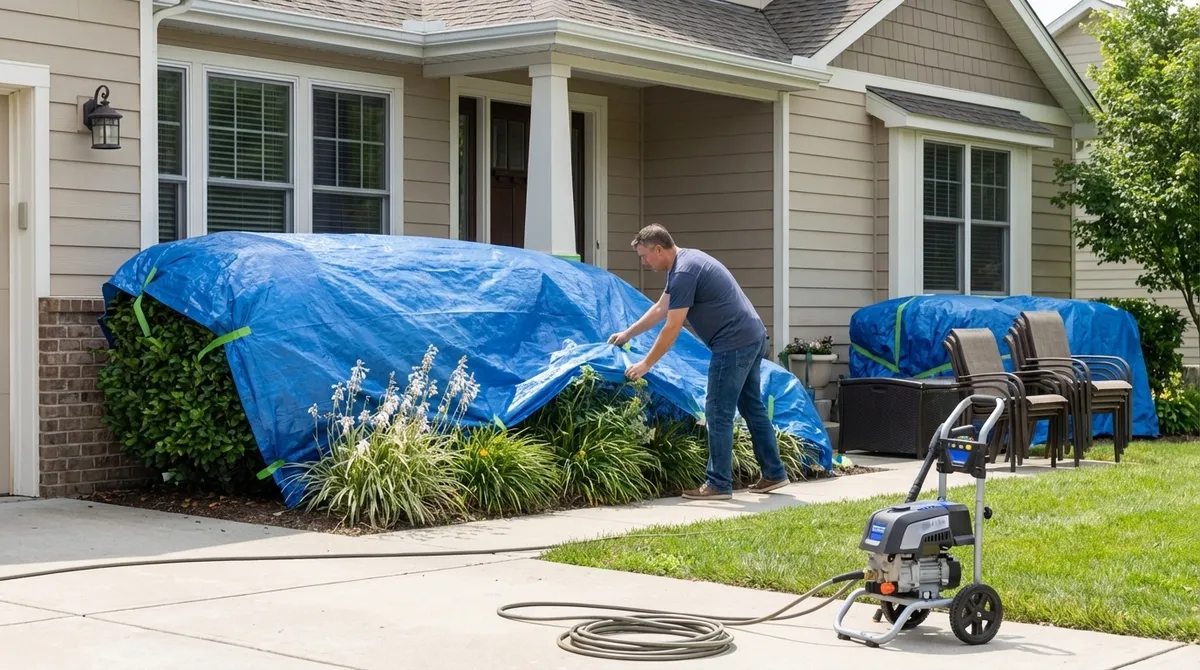
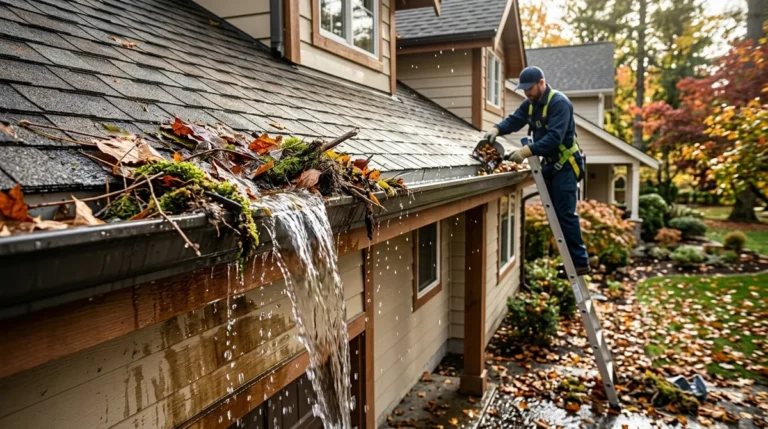
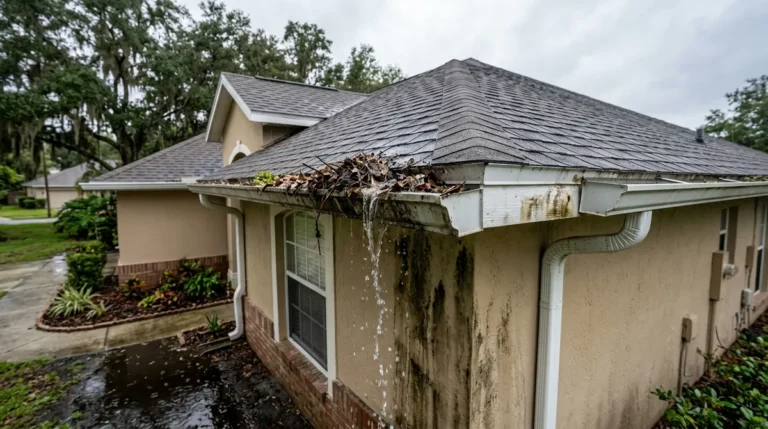
Proper preparation prevents damage to your home and landscaping while ensuring optimal cleaning results. Begin by walking around your house and identifying potential problem areas such as loose siding, cracked caulking, damaged window seals, or gaps around doors and vents. Water forced into these openings can cause interior damage, mold growth, and structural problems. Repair or cover these vulnerable areas before pressure washing.
Remove or cover outdoor furniture, decorative items, and anything that could be damaged by high-pressure water or cleaning solutions. Cover electrical outlets, light fixtures, and air conditioning units with plastic sheeting secured with painter’s tape. Close all windows and doors tightly, and inform household members that exterior water usage will temporarily increase and they should avoid using fixtures on exterior walls during the washing process.
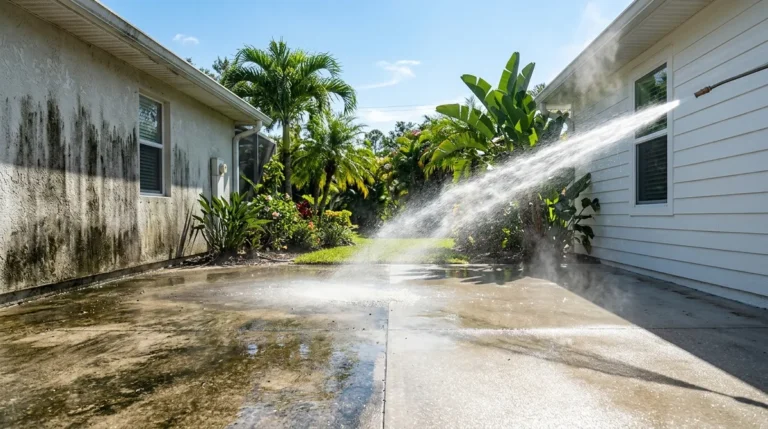
Protecting Landscaping and Adjacent Surfaces
Pressure washing runoff contains cleaning chemicals and debris that can harm plants, grass, and shrubs. Pre-wet all vegetation within ten feet of your house with plain water from a garden hose, which dilutes cleaning solutions and reduces chemical absorption. Cover delicate plants, flowers, and bushes with plastic sheeting or tarps. After completing the pressure washing, thoroughly rinse all landscaping with fresh water to remove any residual cleaning solution. According to EPA guidelines on outdoor cleaning, protecting the environment while maintaining your home is both responsible and often legally required.
Selecting the Right Cleaning Solutions

While water alone can remove loose dirt and some surface grime, cleaning solutions dramatically improve results when washing houses. The right detergent breaks down organic growth, dissolves stubborn stains, and helps lift embedded dirt from porous surfaces. For general house washing, use a cleaning solution specifically formulated for pressure washers and safe for your siding material.
Most professional house washing solutions contain surfactants that help water penetrate dirt and grime, along with mildewcides that kill mold and algae spores. You can purchase commercial house wash concentrates or create your own solution using one gallon of water, one-third cup of powdered laundry detergent, and two-thirds cup of powdered household cleaner. For tougher organic stains, add one quart of household bleach, though always test this mixture on an inconspicuous area first to ensure it doesn’t discolor your siding.
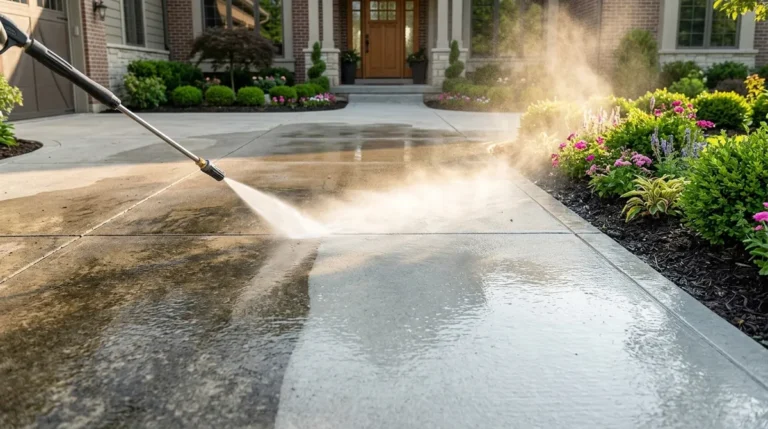
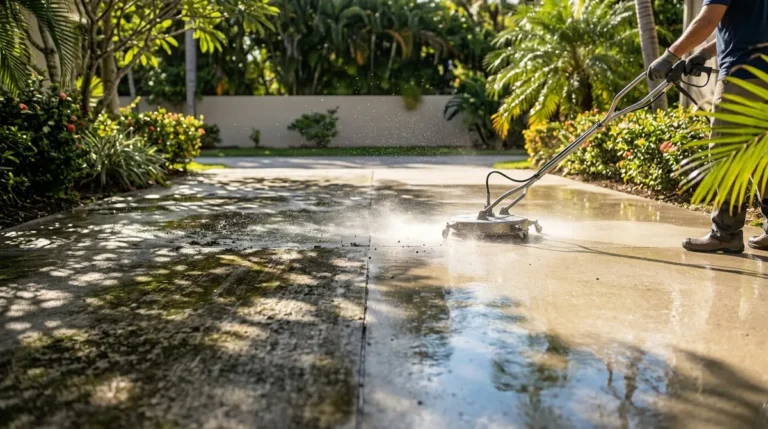
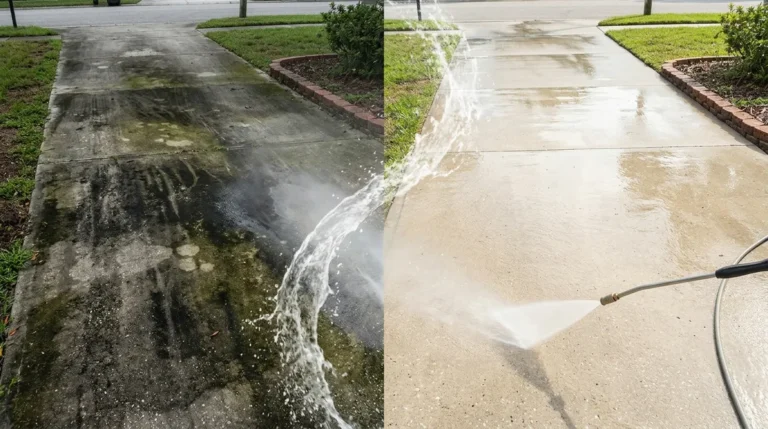
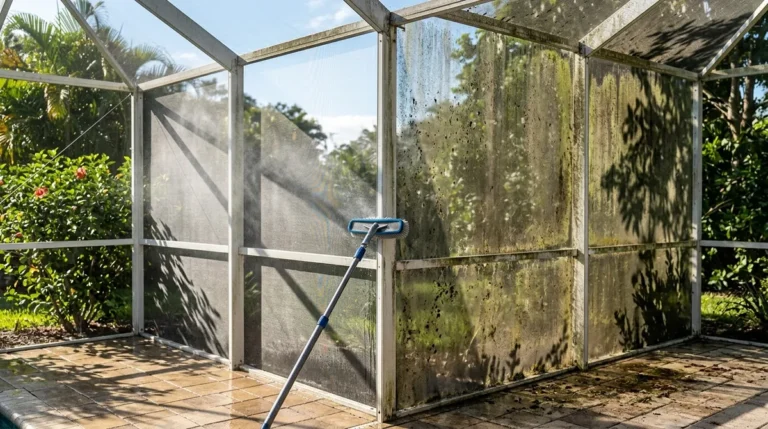
Understanding the Two-Step Cleaning Process
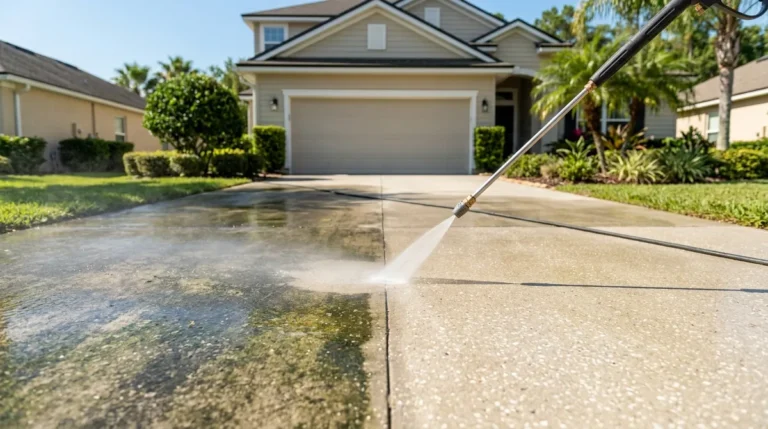
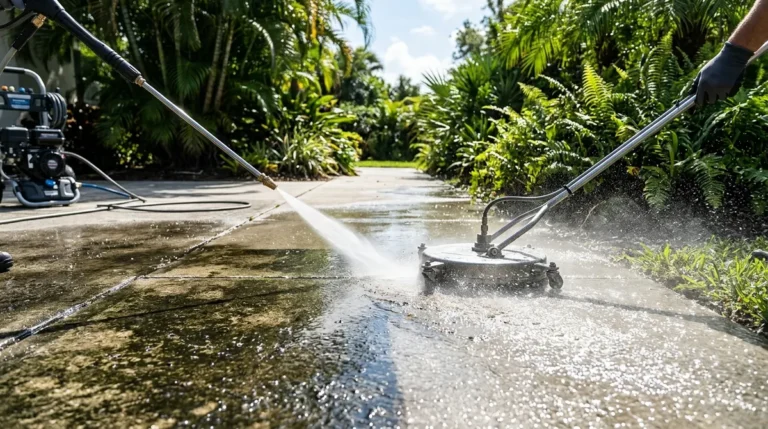
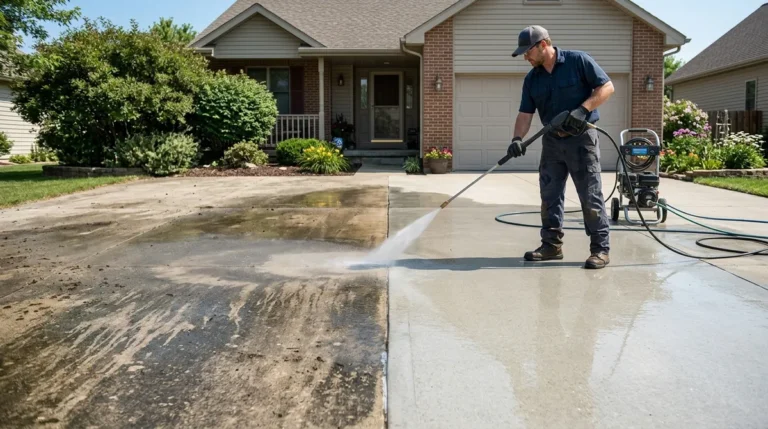
Professional results require a two-step process: applying cleaning solution at low pressure and rinsing at appropriate pressure for your siding material. This method, known as soft washing when using very low pressure, allows cleaning chemicals time to break down contaminants rather than relying solely on high pressure. Apply your cleaning solution from bottom to top using a soap nozzle or chemical injector, working in sections of approximately 10 feet wide. Allow the solution to dwell for 5-10 minutes without letting it dry on the surface, then rinse from top to bottom with clean water.
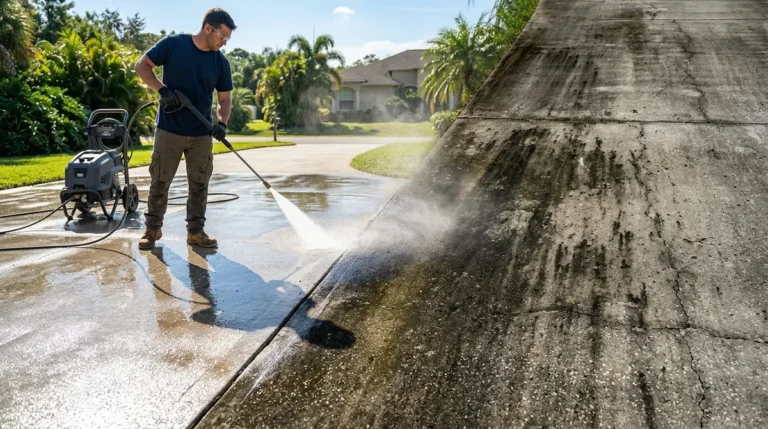
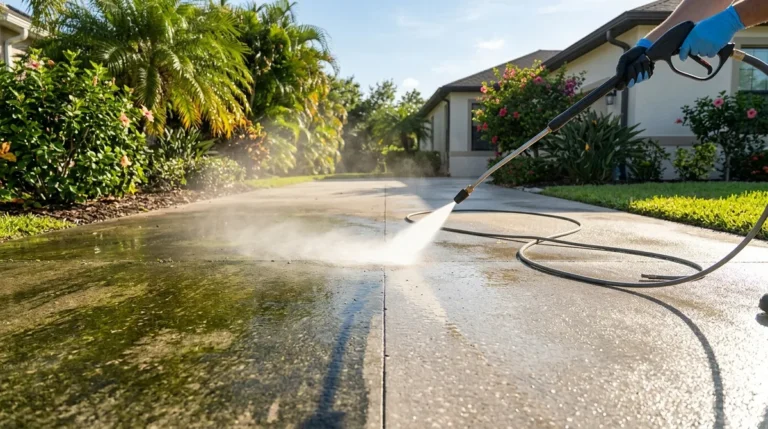
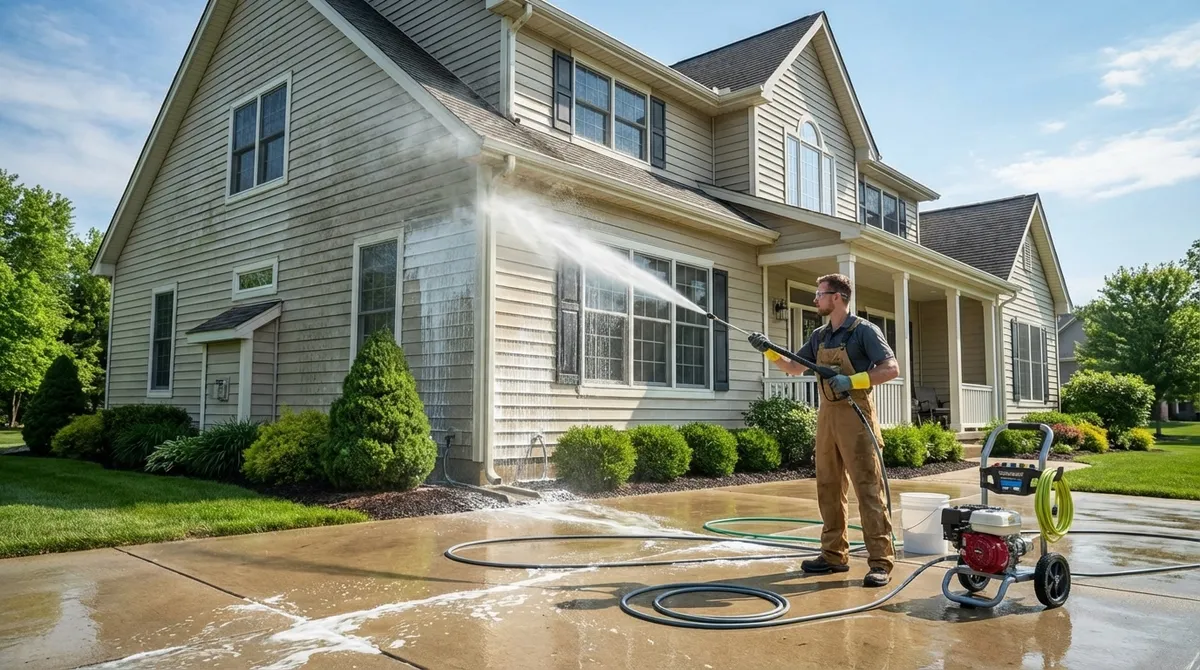
Mastering Proper Pressure Washing Technique
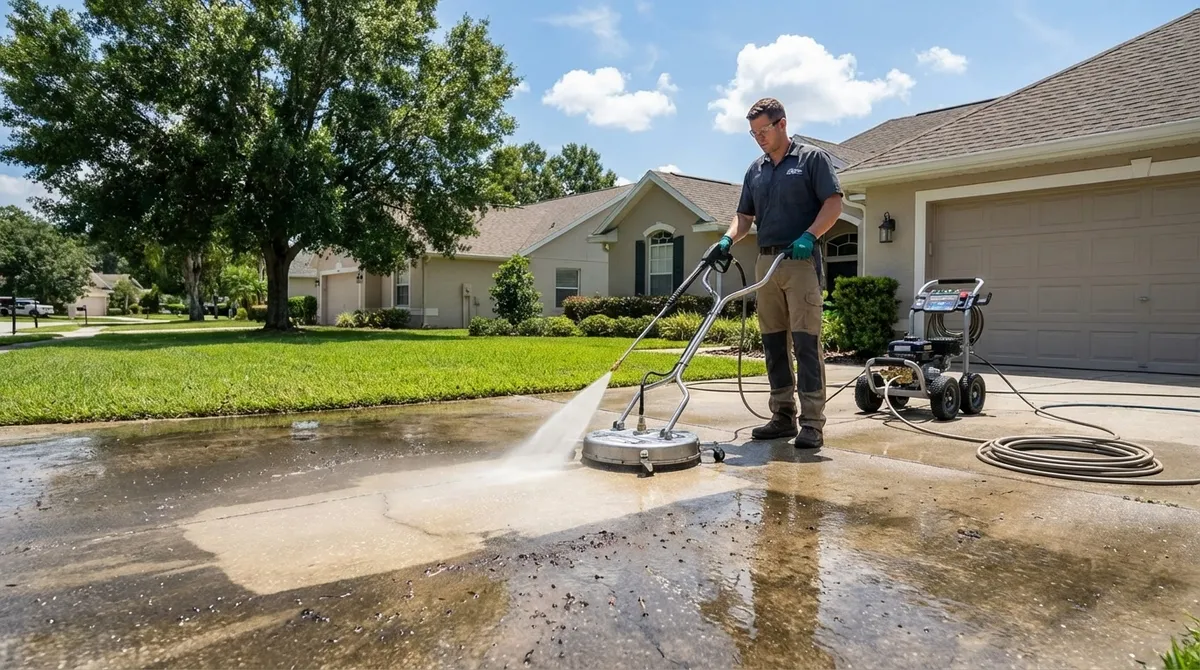
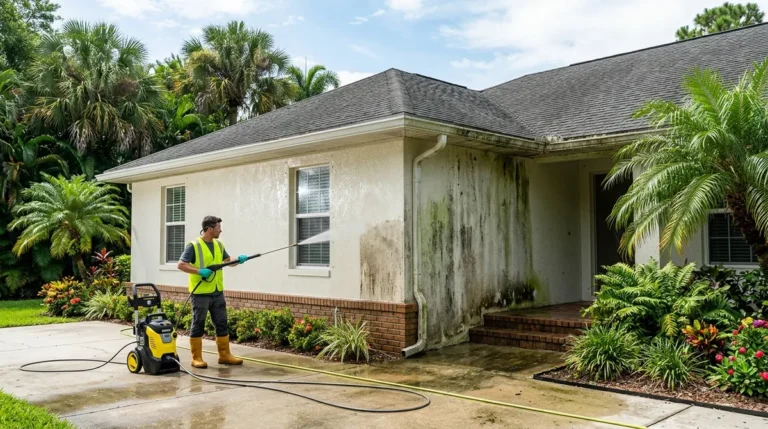
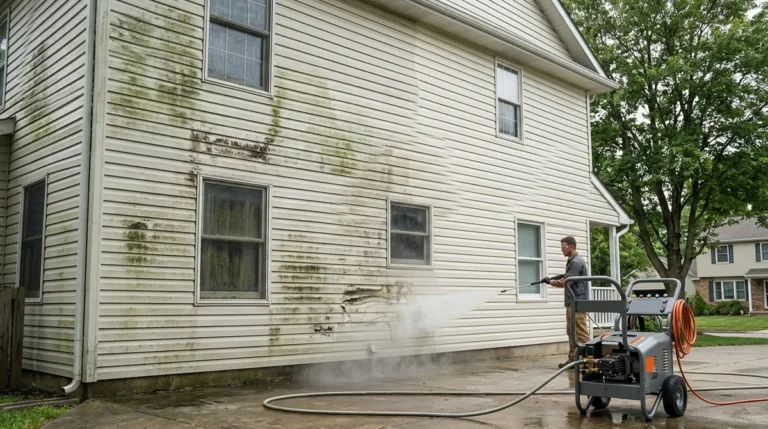
Technique matters more than equipment when pressure washing a house. Improper technique causes the majority of pressure washing damage, including stripped paint, etched siding, and water intrusion. Always maintain a consistent distance between the nozzle and the surface—typically 12 to 18 inches for vinyl siding and up to 24 inches for wood. Hold the spray wand at a slight downward angle to prevent forcing water up and behind siding panels.
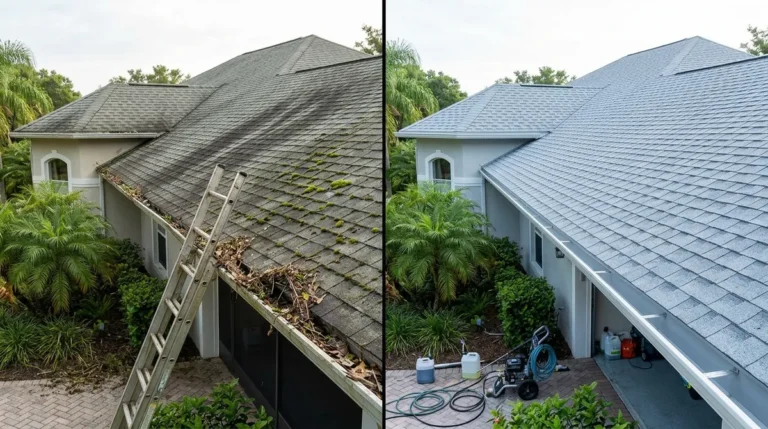
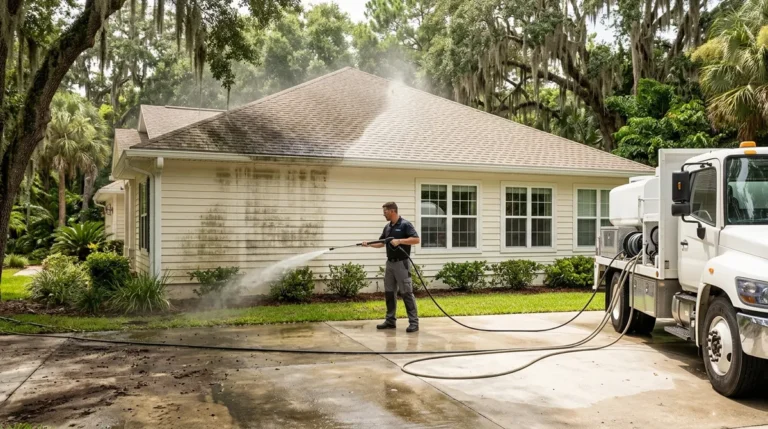
Use smooth, overlapping strokes in a side-to-side pattern, moving at a steady pace that removes dirt without dwelling on one spot. Never spray directly at windows, doors, vents, electrical components, or the edges of siding panels. When washing two-story homes, use an extension wand rather than a ladder whenever possible for both safety and more effective cleaning angles. Companies like Buckhorn Power Wash use professional-grade extension equipment that allows them to safely clean second-story areas from the ground, eliminating ladder-related risks.
Working in Logical Sections
Divide your house into manageable sections based on architectural features, working systematically to ensure complete coverage without missing areas or over-cleaning sections. Start with the least visible side of your house to practice your technique before moving to prominent facades. Begin each section at the bottom and work upward when applying cleaning solution to prevent streaking, then reverse direction and rinse from top to bottom. This approach prevents dirty water from running down onto already-cleaned areas and ensures even chemical distribution across the entire surface.
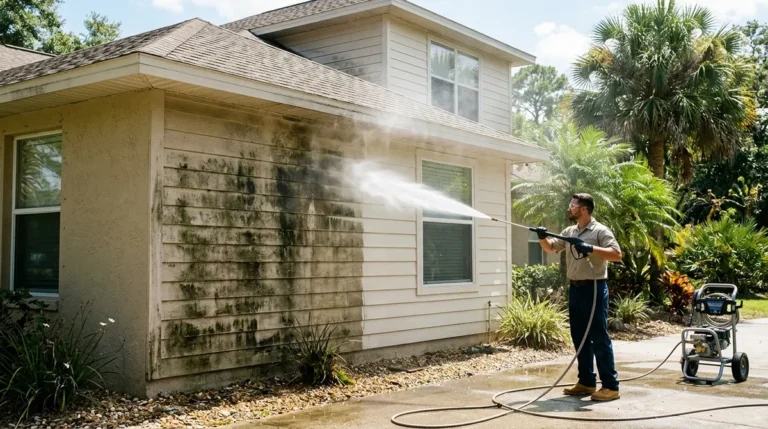
Addressing Different Siding Materials
Each siding material requires specific pressure settings and techniques to achieve optimal results without damage. Understanding these differences prevents costly mistakes and ensures your house remains structurally sound and visually appealing after washing.
Vinyl Siding Pressure Washing Guidelines
Vinyl siding is the most common residential exterior material and responds well to pressure washing when done correctly. Use a pressure setting between 1,300 and 1,600 PSI with a 25-degree or 40-degree nozzle. Never spray upward at vinyl siding, as this can force water behind the panels, leading to mold growth and structural damage. Always direct the spray straight on or slightly downward. Pay special attention to textured vinyl siding, which can trap more dirt in its surface patterns and may require additional dwell time with cleaning solutions. Avoid pressure washing in extremely cold weather, as vinyl becomes brittle and more susceptible to cracking when temperatures drop below 50°F.
Brick and Stone Exterior Cleaning
Brick and stone can withstand higher pressure than vinyl siding, typically handling 2,500 to 3,000 PSI safely. However, the mortar between bricks is more fragile and can deteriorate under excessive pressure or direct spray. Use a 15-degree to 25-degree nozzle and keep the spray moving to avoid concentrating pressure on mortar joints. Older homes with historical brick may have lime-based mortar that’s particularly vulnerable to high-pressure washing. For these structures, consider using lower pressure with longer chemical dwell times. According to the National Park Service guidance on cleaning historic masonry, preservation of original materials should always take precedence over aggressive cleaning methods.
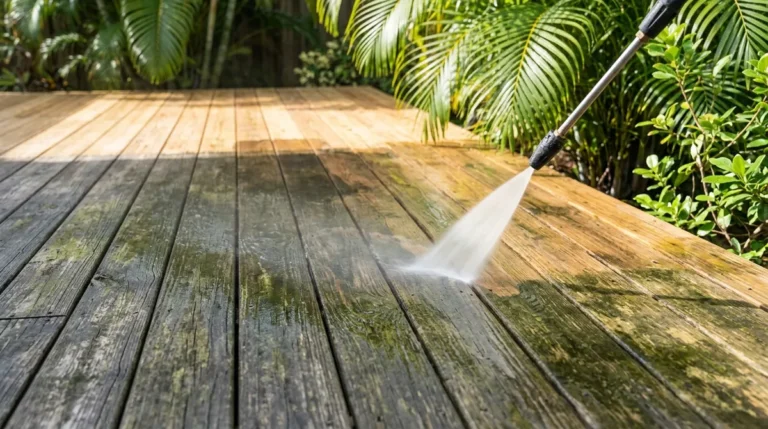
Wood Siding and Cedar Shake Considerations
Wood siding requires the gentlest approach of all common siding materials. Use a maximum of 1,200 to 1,500 PSI with a 40-degree nozzle, maintaining a distance of at least 12 inches from the surface. Wood is particularly vulnerable to gouging, splintering, and water absorption that can lead to rot. Always spray in the direction of the wood grain and avoid dwelling on one spot. If you’re pressure washing painted wood, be extremely cautious, as excessive pressure will strip paint. For unpainted or stained wood, consider using specialized wood cleaning solutions that brighten the surface without requiring aggressive pressure.
Safety Precautions and Equipment Protection
Pressure washers generate enough force to cause serious injuries and property damage when misused. The high-pressure water stream can penetrate skin, cause eye injuries, and create dangerous slip hazards. Always wear safety goggles or a face shield to protect your eyes from debris and chemical splashback. Wear closed-toe shoes with good traction—never sandals or bare feet. Long pants and long sleeves protect your skin from both the pressure stream and cleaning chemicals.
Never point the pressure washer at yourself, other people, pets, or windows. The trigger lock feature should only be engaged when you’ve completely stopped using the equipment. When taking breaks, turn off the pressure washer entirely rather than just releasing the trigger. Be aware of your surroundings, including power lines, and use extreme caution when working near electrical components. Ground Fault Circuit Interrupter (GFCI) protection is essential when using electric pressure washers to prevent electrical shock from water contact.
Ladder Safety and Working at Heights
Working from ladders while operating a pressure washer creates significant risk due to the equipment’s recoil force. The backward push when you pull the trigger can easily knock you off balance. Whenever possible, use extension wands to reach high areas from the ground. If you must use a ladder, ensure it’s on stable, level ground and have someone hold the base. Never overreach while on a ladder—reposition frequently to maintain proper balance. Professional services invest in specialized equipment that eliminates the need for ladder work, which is one reason many homeowners choose to hire experts for two-story homes.
Common Mistakes to Avoid
Learning from common pressure washing mistakes helps you avoid damage and achieve better results. One frequent error is using too much pressure, which accounts for the majority of siding damage, stripped paint, and water intrusion problems. Starting with lower pressure and gradually increasing only if necessary prevents these issues. Another mistake is holding the nozzle too close to the surface—maintaining proper distance ensures even cleaning without etching or gouging the material.
Failing to pre-wet and rinse landscaping is another common oversight that can kill plants and damage lawns. Many homeowners also skip the pre-cleaning inspection, missing loose siding, damaged seals, or other vulnerabilities that allow water intrusion. Not allowing adequate dwell time for cleaning solutions reduces their effectiveness and may tempt you to use excessive pressure to compensate. Finally, pressure washing in direct sunlight causes cleaning solutions to dry too quickly, creating streaks and reducing effectiveness. Work in shaded areas or during cooler morning or evening hours for optimal results.
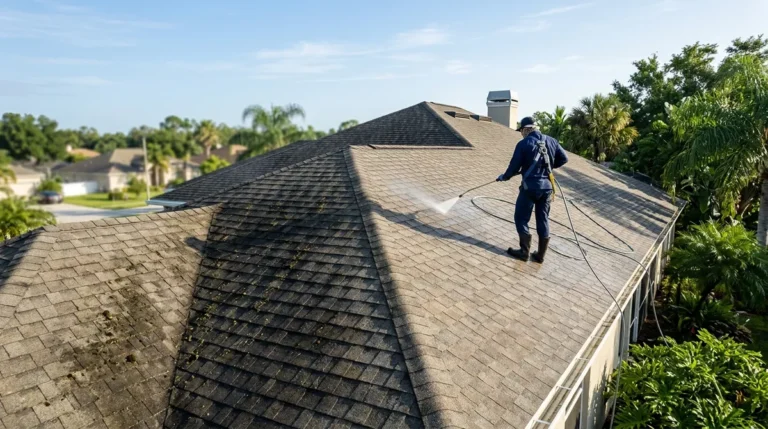
Recognizing When to Call Professionals
While many homeowners successfully pressure wash their houses, certain situations warrant professional expertise. Multi-story homes present safety challenges that professional equipment handles more effectively. Historic homes with delicate or unusual siding materials require specialized knowledge to clean without damage. If you discover extensive mold growth, severe staining, or structural concerns during your inspection, professionals have access to stronger cleaning solutions and techniques not available to homeowners. When your results don’t meet expectations or you’re uncomfortable with any aspect of the process, companies like Buckhorn Power Wash bring experience and proper insurance coverage that protects both you and your property. You can learn more about professional services and get an instant quote to compare the cost of DIY versus professional cleaning.
Post-Washing Inspection and Maintenance
After completing your pressure washing project, conduct a thorough inspection of your home’s exterior. Look for any areas that need additional attention, checking for streaks, missed spots, or areas where dirt remains embedded. Examine your siding carefully for any damage that may have occurred during washing, including cracks, loose panels, or areas where paint has lifted. Address these issues promptly to prevent water intrusion and further deterioration.
Check all caulking around windows, doors, and other penetrations, as pressure washing can reveal deteriorated seals that need replacement. Inspect your landscaping and thoroughly rinse any plants that received overspray from cleaning solutions. Remove protective coverings from electrical outlets, light fixtures, and other components you protected before washing. Allow your house to dry completely before applying new paint or stain if that’s part of your maintenance plan.
Establishing a Regular Washing Schedule
Regular pressure washing maintains your home’s appearance and prevents the accumulation of contaminants that can cause permanent staining or material degradation. Most homes benefit from pressure washing every 18 to 24 months, though factors like climate, surrounding vegetation, and proximity to roads may necessitate more frequent cleaning. Homes in humid climates or shaded areas tend to develop mold and mildew faster, requiring annual washing. Establishing a regular maintenance schedule prevents heavy buildup that requires more aggressive cleaning methods and higher pressure settings.
Environmental Considerations and Wastewater Management
Pressure washing generates significant wastewater that contains cleaning chemicals, paint particles, mold spores, and other contaminants. This runoff can enter storm drains and eventually reach local waterways, potentially harming aquatic ecosystems. Many municipalities have regulations governing pressure washing wastewater disposal, particularly for commercial operations. While residential enforcement is less common, responsible homeowners should minimize environmental impact by using biodegradable, phosphate-free cleaning solutions whenever possible.
Prevent wastewater from flowing directly into storm drains by creating barriers with sandbags or absorbent materials. Collect wastewater when possible, particularly when using stronger chemical solutions, and dispose of it according to local regulations. Some areas require wastewater to be directed to sanitary sewer systems rather than storm drains. The EPA’s stormwater management guidelines provide detailed information on reducing pollution from outdoor cleaning activities. Using appropriate cleaning products and minimizing chemical concentrations reduces environmental impact while still achieving excellent cleaning results.
Cost Analysis: DIY vs. Professional Pressure Washing
Understanding the true cost of DIY pressure washing helps you make an informed decision about handling the project yourself or hiring professionals. If you don’t already own a pressure washer, purchasing one costs between $150 for basic electric models to over $500 for quality gas-powered units. Rental options typically range from $40 to $100 per day, depending on the equipment quality and your location. Add cleaning solutions ($20-50), safety equipment if you don’t have it ($30-60), and potential repair costs if something goes wrong.
Professional pressure washing services typically charge $0.15 to $0.75 per square foot, depending on your home’s size, siding material, and regional labor costs. For an average 2,000-square-foot home, expect to pay $300 to $600 for professional service. While this seems more expensive than DIY, professionals complete the work faster, carry insurance for any damage, use commercial-grade equipment and cleaning solutions, and eliminate safety risks associated with ladder work and equipment operation. For homeowners who pressure wash regularly, owning equipment makes financial sense, but for occasional cleaning, professional services often provide better value when you factor in time, effort, and risk.
Conclusion
Pressure washing your house effectively requires understanding equipment specifications, proper techniques for different siding materials, and safety precautions that protect both you and your property. By starting with appropriate pressure settings, using the correct nozzle types, applying quality cleaning solutions with adequate dwell time, and maintaining proper distance and angles, you can achieve professional-quality results without causing damage. Regular maintenance through pressure washing protects your investment, enhances curb appeal, and prevents the accumulation of contaminants that lead to costly repairs.
Whether you choose to tackle this project yourself or hire experienced professionals, the key to success lies in respecting the power of pressure washing equipment and prioritizing proper technique over speed. Remember that patience, preparation, and attention to detail produce superior results that make your home look fresh and well-maintained. For homeowners in Hillsborough County seeking expert pressure washing services with transparent pricing and no high-pressure sales tactics, Buckhorn Power Wash offers the experience and professionalism that ensure outstanding results. Check out their excellent reviews and learn more by visiting their Google Business Profile.
Ready to transform your home’s exterior? Get an instant quote today and discover how professional pressure washing can restore your home’s beauty and protect its value for years to come.
FAQs
Q: What PSI pressure washer do I need to wash my house?
A: For most residential siding, you’ll need a pressure washer between 1,500 and 3,000 PSI. Vinyl siding requires 1,300-1,600 PSI, wood siding needs 1,200-1,500 PSI, and brick can handle up to 3,000 PSI. Always start with lower pressure and increase gradually if needed to prevent damage to your home’s exterior.
Q: Should I use soap when pressure washing my house?
A: Yes, using a proper cleaning solution significantly improves results by breaking down organic growth, dissolving stains, and lifting embedded dirt. Apply cleaning solution at low pressure, allow 5-10 minutes of dwell time without letting it dry, then rinse thoroughly with clean water from top to bottom for professional-quality results.
Q: Can pressure washing damage my house siding?
A: Yes, improper pressure washing can crack siding, strip paint, force water behind panels, and cause structural damage. Prevent damage by using appropriate PSI settings for your siding material, maintaining proper distance (12-18 inches), never spraying upward on vinyl siding, and using correct nozzle types with proper technique throughout the process.
Q: How often should I pressure wash my house?
A: Most homes benefit from pressure washing every 18-24 months to maintain appearance and prevent contaminant buildup. Homes in humid climates, shaded areas, or regions with heavy pollen may require annual washing. Regular maintenance prevents heavy buildup that necessitates more aggressive cleaning methods and protects your home’s exterior from permanent staining.
Q: Is it better to pressure wash my house myself or hire a professional?
A: DIY pressure washing works well for single-story homes and experienced homeowners, saving money on labor costs. However, professionals offer expertise with different siding materials, commercial-grade equipment, proper insurance coverage, and safer methods for two-story homes. For complex projects, historic homes, or when safety concerns exist, professional services provide better value and peace of mind.